Connect Mesh Linksys Node set up.
- Power on your new mesh node in the same room as your router (close to your router).
- Open the Linksys App and log in if you need to.
-
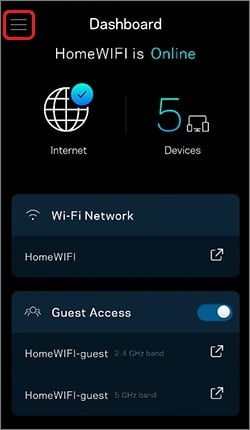
Click on the Menu (three lines on the upper left hand corner).
-
Set up a new product: Scroll to the bottom of the app and tap Set up a new product.

- Select Add another node and then choose To extend my Wi-Fi with a new child node.

- Follow the on screen instructions: Make sure Bluetooth is turned on for your device (the app may prompt you for this).
-
Purple Blinking: confirm in the app when your mesh node starts blinking purple and press continue.
-
App configuration: The app will automatically configure the node for you—just sit back and relax! (This can take a few minutes.)

- Move the node: Once set up, you can unplug the node and move it to the best spot. Ideally, place it about 2/3 of the way between your router and the area with weak Wi-Fi coverage.
-
Choose a location: Select where you want the mesh node to be located in your home.
-
All done! You’re all set up and ready to go. If you need any help along the way, just give us a call!
- As an extra step we recommend running the Channel Finder Tool on the Linksys App once set up is completed.